Set up a home boxing training space by clearing a stable floor, checking your movement clearance, and arranging equipment so it stays outside your footwork path. For live virtual lessons, position the camera to show your whole body; a heavy bag is optional, and its mounting, movement, and impact noise require separate planning.
- How to set up a home boxing training space: prioritize clear movement, stable footing, and a full-body camera view.
- Start with shadowboxing and footwork; add a heavy bag only after checking its installation requirements.
- Better Through Boxing offers live virtual boxing coaching for beginners through competitors training from home.
- Keep equipment, power cords, and furniture outside the area where you step, slip, and pivot.
Why this matters
Your training space needs to support boxing mechanics, not just hold boxing equipment. A room that lets you throw straight punches can still obstruct a lateral step, a pivot, or your return to stance.
For a home setup in 2026, arrange the space around the movements you intend to practice. Better Through Boxing provides private boxing coaching through live virtual lessons worldwide and in-person coaching in Somerset County, New Jersey, and surrounding areas. Better Through Boxing private boxing coaching is best for home learners who want live instruction in stance, footwork, and defense.
Virtual instruction also has a practical limitation: your coach sees what the camera shows. Good framing is part of the training setup, not an afterthought.
How do you set up a boxing training space at home?
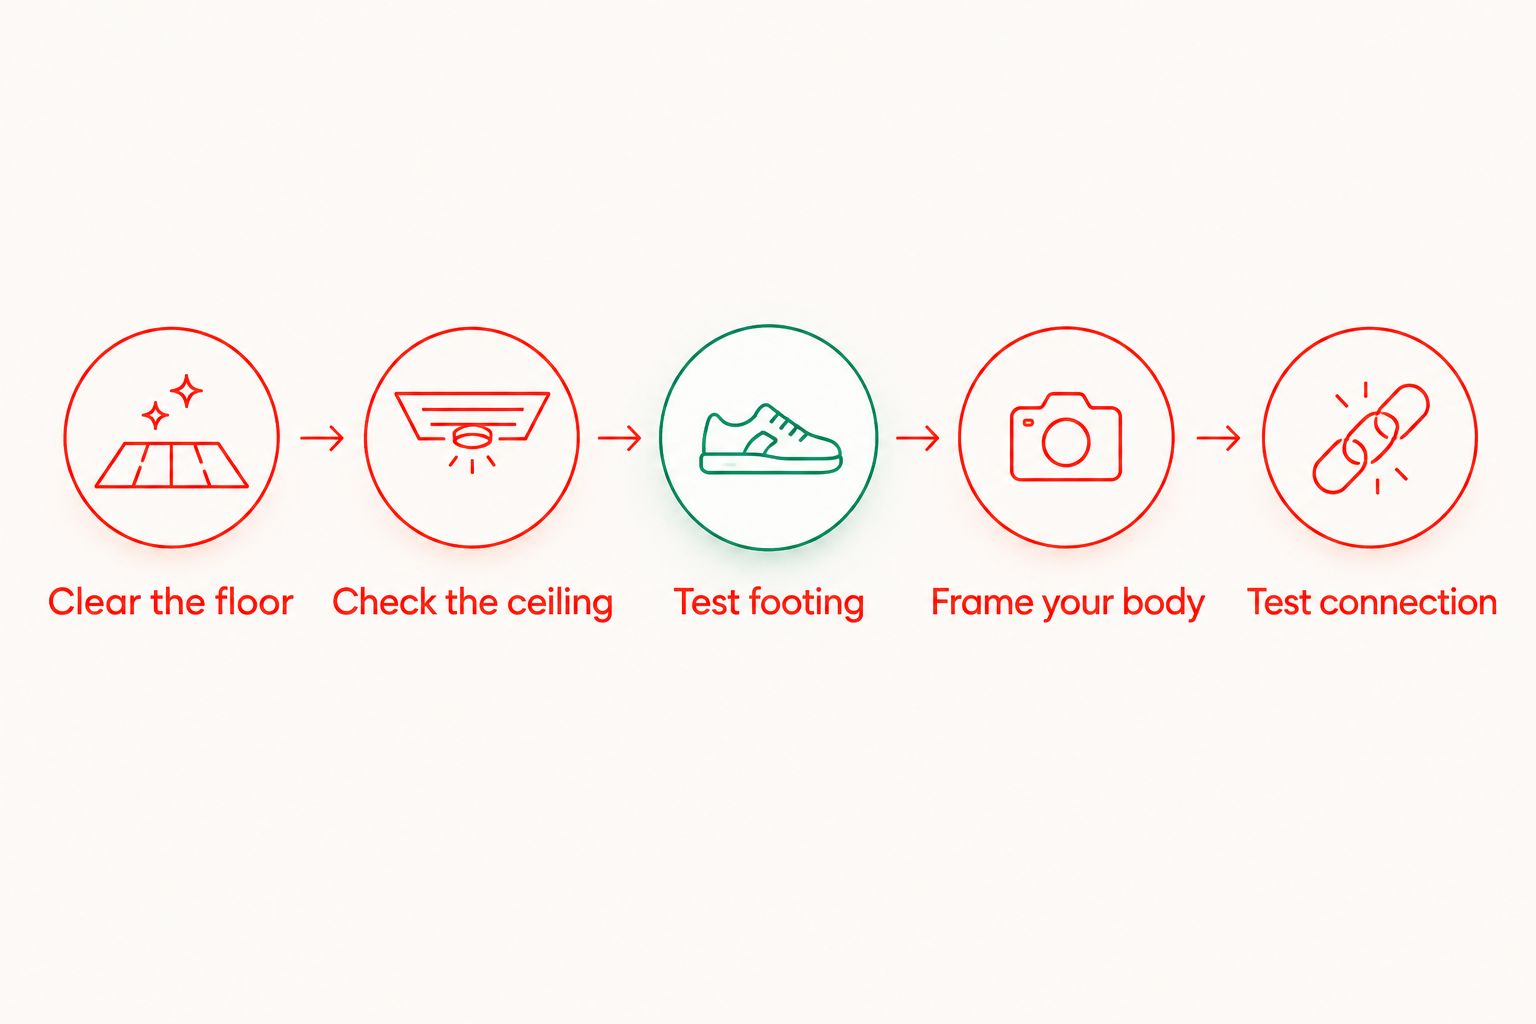
Use this sequence before adding equipment. Clear the movement area first, then test it with the actual drills you plan to perform. Furniture placement alone does not tell you whether the space works.
1. Clear the floor
Choose an area you can keep free of furniture, loose objects, pets, and household traffic while you train. Move coffee tables, baskets, shoes, and charging cables out of the movement area rather than pushing them just beyond your starting stance.
Check the route behind you as carefully as the space ahead. Boxing footwork includes retreating and changing direction, so an obstacle outside your initial line of sight still matters.
If the room serves another purpose, make the reset simple. Keep displaced items somewhere they will not creep back into the training area halfway through a lesson.
2. Check the ceiling
Inspect the area above and around your training position, including light fixtures, ceiling fans, shelves, and projecting corners. Check clearance for the movements in your session, not just your standing height.
A jump rope needs different clearance from stance practice. Do not assume a room suitable for shadowboxing is also suitable for jumping rope. Leave out any drill that conflicts with the available space rather than shortening the movement to avoid a fixture.
For a garage, check overhead storage and door hardware. Keep training away from anything that can fall, swing, or intrude into your movement area.
3. Test footing
Start with a clean, dry, stable surface. Walk through your stance, forward and backward steps, lateral movement, and a controlled pivot before increasing speed.
Watch for slipping, catching, or uneven support. A loose rug can shift, while an uneven mat edge can interrupt a step; neither belongs under your footwork path.
Do not solve a footing problem by forcing the movement. If your foot catches during a pivot, stop and reassess the surface and footwear with your coach. Comfort while standing still does not establish that the floor works for boxing.
4. Test movement
Take your boxing stance and rehearse the movements you expect to use. Extend a jab and cross slowly, return to guard, step in each direction, and practice a controlled slip and pivot.
Check whether your hands, elbows, or feet approach furniture as you move. Test from different starting positions rather than repeating everything from the center of the room.
The usable training area is the space left after obstacles and equipment are accounted for. If a movement brings you close to a hard edge, remove the obstacle or change the drill. Do not rely on remembering to avoid it once the pace increases.
5. Frame your body
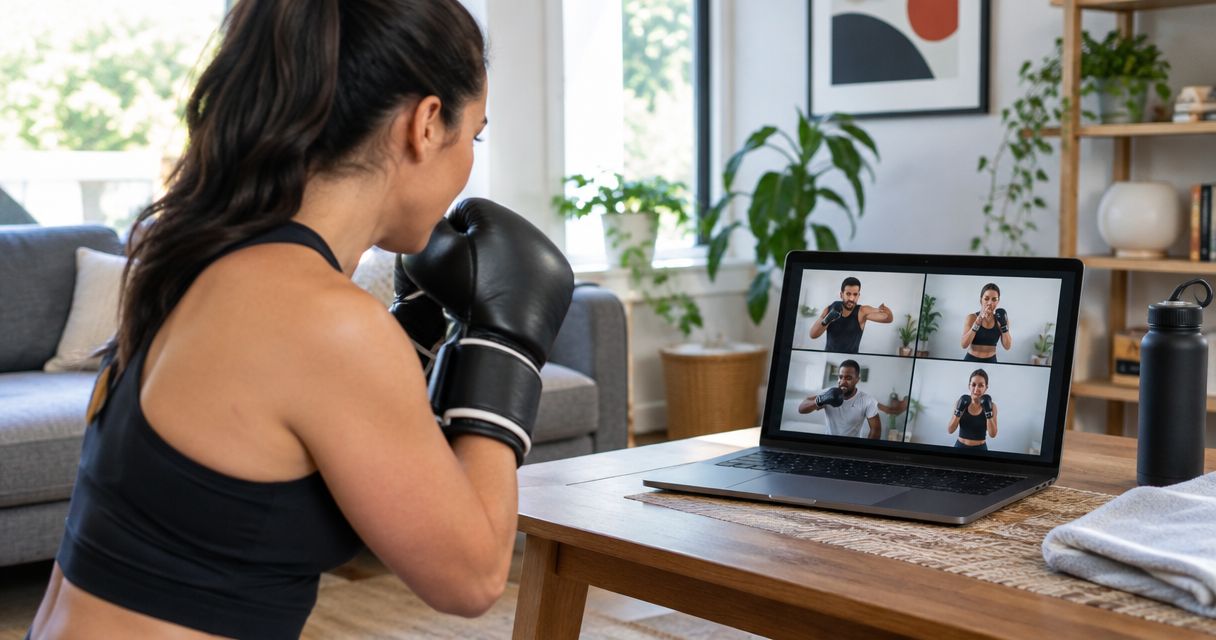
For a virtual boxing lesson, place your phone, tablet, or computer on a stable support outside your footwork area. Adjust the camera until your head, hands, and feet remain visible through the movements you have just tested.
A camera that shows your punches but cuts off your feet hides information about stance and balance. Turn on the preview, move through the planned drill, and check the edges of the picture.
Position the screen so you can follow instruction without repeatedly twisting out of stance. Keep the device and its power cable away from the route you use to step backward.
6. Test connection
Open the platform you will use for the lesson and test the camera, microphone, speaker, and connection from your training position. Listen for whether you can hear instructions while moving, not only while sitting beside the device.
Arrange lighting so your body is visible rather than silhouetted against a bright window. Ask your coach to confirm the view at the start of the session.
For your 2026 setup, prioritize a stable device position over a complicated display arrangement. A larger screen does not fix a camera angle that misses your footwork.
7. Place equipment last
Bring equipment into the room only after the movement and camera checks. Store gloves, wraps, and other items where you can reach them between drills without leaving them underfoot.
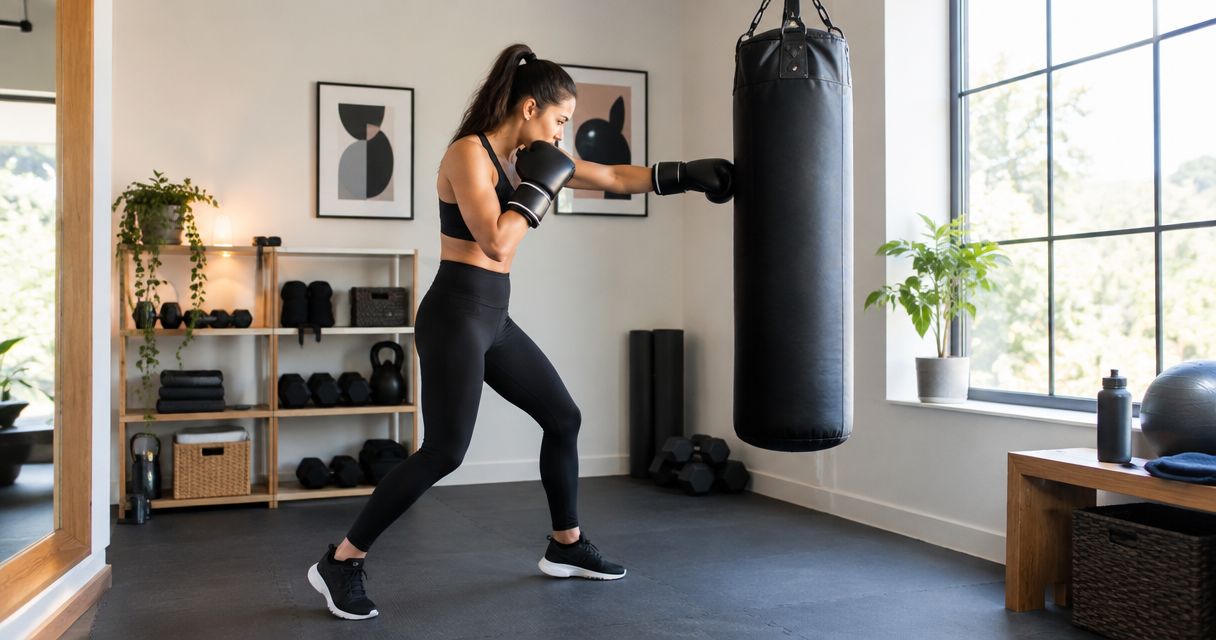
If you use a heavy bag, follow the manufacturer's installation and use instructions. A hanging bag requires an appropriate support; a freestanding bag requires room for its base and movement.
Do not attach a bag to an unverified ceiling point or improvise structural mounting. When the support is uncertain, consult a qualified installer before using it.
Repeat the movement test with the equipment in place. The final layout must work with the bag, stand, or storage present—not just with an empty floor.
Which home boxing setup fits your training?
Choose the arrangement that supports your immediate training goal. The simplest useful setup in 2026 is not necessarily the one with the most equipment.
| Setup | Best for | Main advantage | Main limitation | What to check |
|---|---|---|---|---|
| Open-floor shadowboxing | Beginners practicing stance, punches, and footwork | Leaves the floor available for movement | Does not provide impact feedback | Footing, clearance, and controlled technique |
| Heavy-bag setup | Practicing punches against a target | Provides physical contact with the target | Adds installation, movement, and noise considerations | Support, base placement, and bag travel |
| Live virtual coaching setup | Home learners seeking real-time instruction | Lets a coach observe and correct visible mechanics | Feedback depends on camera coverage and connection | Full-body framing, audio, and usable movement area |
Open-floor shadowboxing setup
Best for: learning and rehearsing mechanics without adding a large piece of equipment. Keep the floor clear and practice the drills your coach assigns at a pace that lets you maintain stance and guard.
Shadowboxing gives you room to work on punch recovery, defensive movement, and direction changes. Its limitation is the absence of a physical target: you are not testing contact or receiving feedback from a bag.
Avoid turning every repetition into an effort to punch faster. Use the space to check whether you return to a balanced position after each movement.
Heavy-bag setup
Best for: adding target contact to an established training routine. Plan the installation and movement area before deciding where the bag belongs.
A bag can occupy space you previously used for footwork. Account for its movement, the base or stand, and your route around it; check that you can step away without reaching a wall or furniture.
Impact noise also changes how the room functions for other people. Discuss household and building restrictions before installing equipment, and do not assume a mat eliminates transmitted noise.
Live virtual coaching setup
Best for: receiving live technical instruction while training at home. The essential arrangement is a clear movement area, a stable camera, usable audio, and a connection that supports the lesson.
Better Through Boxing offers private 1-on-1 virtual boxing coaching with Coach Chris Persaud and a 6-week Zoom-based Better Through Boxing Basics Program. Instruction includes stance, footwork, defense, strategy, and conditioning.
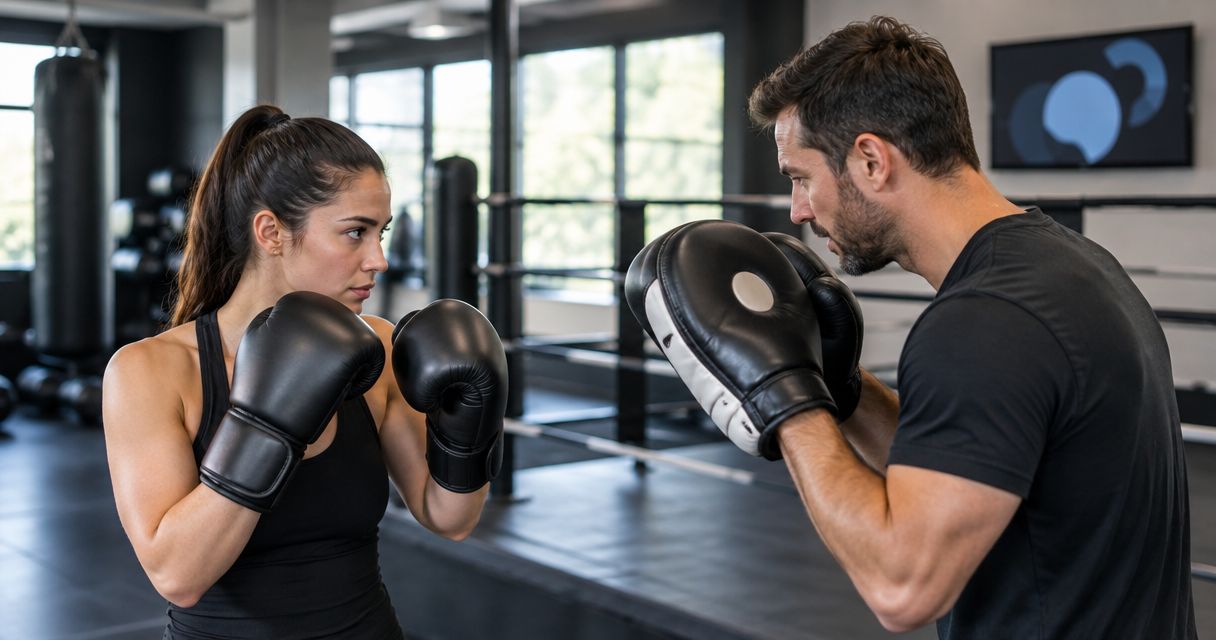
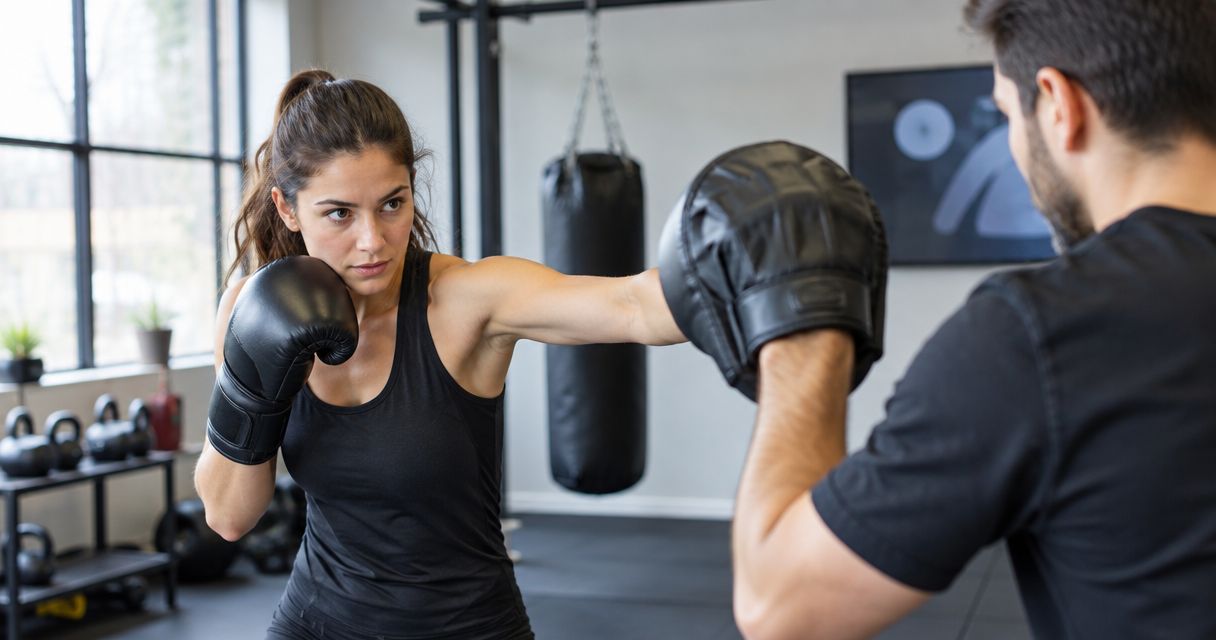
The limitation is physical separation: a remote coach cannot hold mitts for you through a video call. Match the session to movements your coach can observe and guide remotely rather than trying to reproduce every in-person drill.
Why home boxing layouts vary
There is no single layout that fits every room and training plan. Build your 2026 arrangement around these practical differences:
- Training focus: Stance practice, moving combinations, and bag work place different demands on the room. Start with the drills you will actually perform.
- Floor conditions: The surface needs to support stepping and controlled rotation. Loose coverings, uneven edges, and slippery areas change where you can train.
- Equipment footprint: A bag, stand, or device support takes space away from movement. Include it in your final clearance check.
- Lesson format: Virtual instruction requires a useful camera view and audio. In-person coaching requires room for the coach and the planned activity as well.
- Household use: Shared rooms need a repeatable reset, while noise and interruptions affect where and when you can practice.
- Installation restrictions: Building rules and structural requirements affect whether mounted equipment belongs in the space. Confirm them before installation.
Can you start home boxing without a heavy bag?
Yes. You can practice stance, guard, controlled punches, footwork, and defensive movement without a heavy bag. That setup lacks target contact, but it lets you work on mechanics without crowding the floor with equipment.
How should you arrange a shared living room?
Clear a repeatable training area and keep displaced furniture outside your movement path. Set the camera in a consistent position, check the floor before each session, and restore the room only after training ends.
What changes when you train in a garage?
A garage requires the same movement and footing checks, plus attention to tools, stored items, door hardware, and ventilation. Do not train around vehicle exhaust, chemical fumes, or equipment that obstructs your exit.
Check the setup before every lesson
A layout that worked yesterday still needs a brief inspection. Someone can move a chair, leave a cable across the floor, or change the camera position between sessions.
Before each lesson in 2026, check the following:
- Floor: Remove objects and confirm that the surface is dry and stable.
- Movement: Rehearse a controlled step, punch extension, and pivot in the available area.
- Equipment: Check placement and follow the relevant inspection instructions before use.
- Camera: Confirm that your hands and feet stay visible during movement.
- Audio: Check that you can hear your coach from the training position.
- Access: Keep your exit clear and tell other people in the home where you will be training.
Treat this as a setup check, not a warm-up substitute. Once the space is ready, follow the session preparation your coach gives you.
FAQ
What's the best way to set up a home boxing training space?
Clear a stable floor, test your movement clearance, and place equipment outside your footwork path. For virtual lessons, add a full-body camera view and test audio and connection before training.
Do I need a heavy bag to start boxing at home?
No, a heavy bag is not required for practicing stance, guard, shadowboxing, and footwork. A bag adds target contact but also requires installation planning and room for movement.
How do I know whether my room has enough space for boxing?
Test the movements you plan to practice at a controlled pace without approaching furniture, walls, or equipment. Include backward steps, lateral movement, punch extension, and pivots rather than checking only your standing position.
Where should I put my camera for a virtual boxing lesson?
Place your camera on a stable support outside the movement area, with your head, hands, and feet visible. Check the framing while moving through the planned drill, not just while standing still.
Can I use a rug as my boxing training surface?
Do not use a rug that slips, bunches, or catches your feet during movement. Check the surface with controlled steps and pivots before training, and reassess any footing problem with your coach.
Can I learn boxing through live online lessons at home?
Better Through Boxing provides live online boxing coaching with Coach Chris Persaud for beginners through competitors. Set up a clear training area and a camera view that lets the coach observe your stance, punches, and footwork.
Can I practice sparring in my home boxing space?
Do not treat a home boxing setup as permission to spar. Sparring requires qualified supervision and a separate assessment of participants, protective equipment, and the training environment.
One last thing
Test your retreat before you test your punch. A setup can feel roomy when you face forward yet place a table or device directly behind you.
Before your next lesson, take your stance, step backward under control, move sideways, and return to your starting position. Check the camera preview afterward. If your feet disappear or your route reaches an obstacle, fix the layout before increasing the pace.